Chocolate Mousse Cake
Who doesn’t love the fluffy decadence of chocolate?
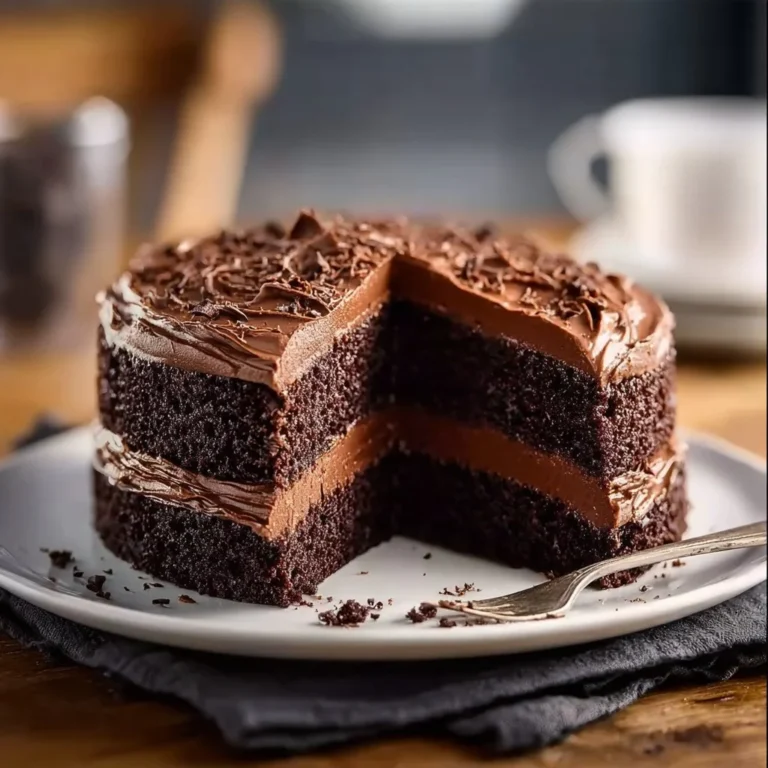
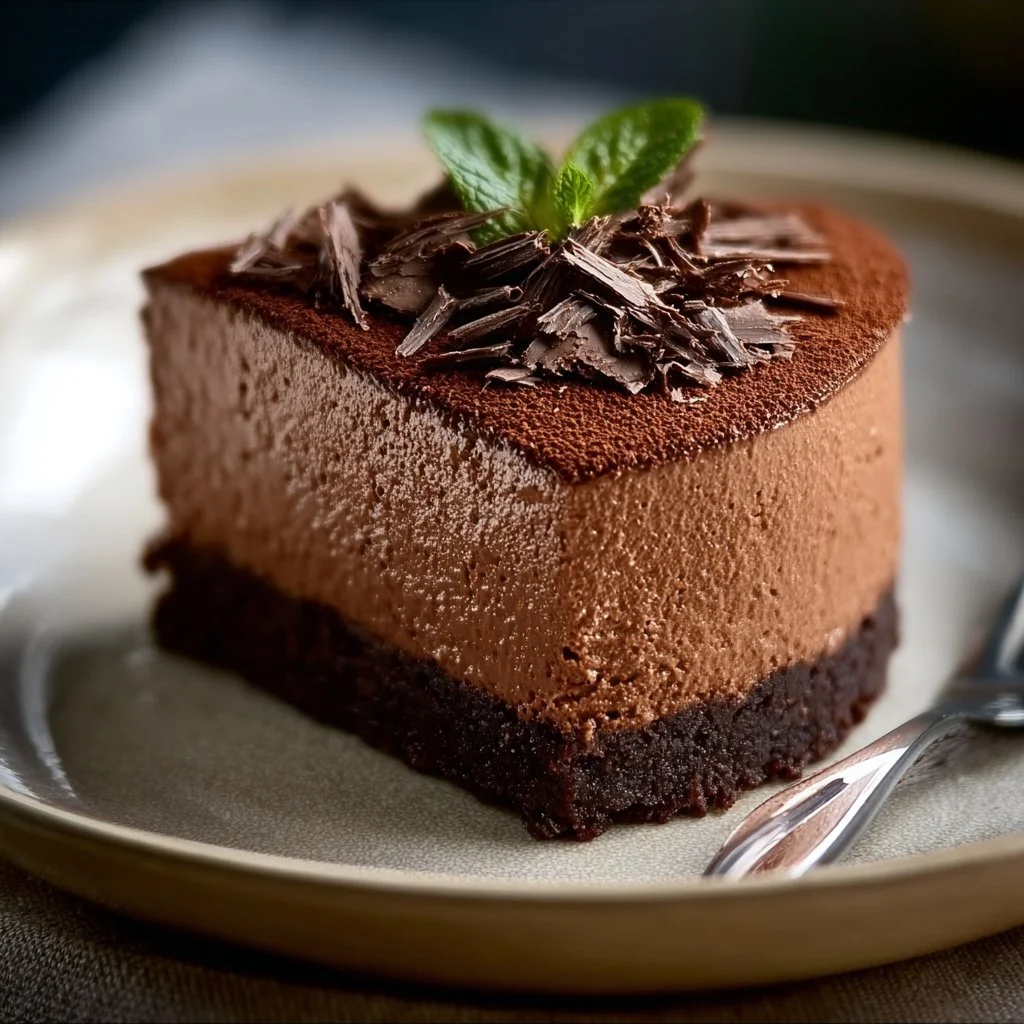
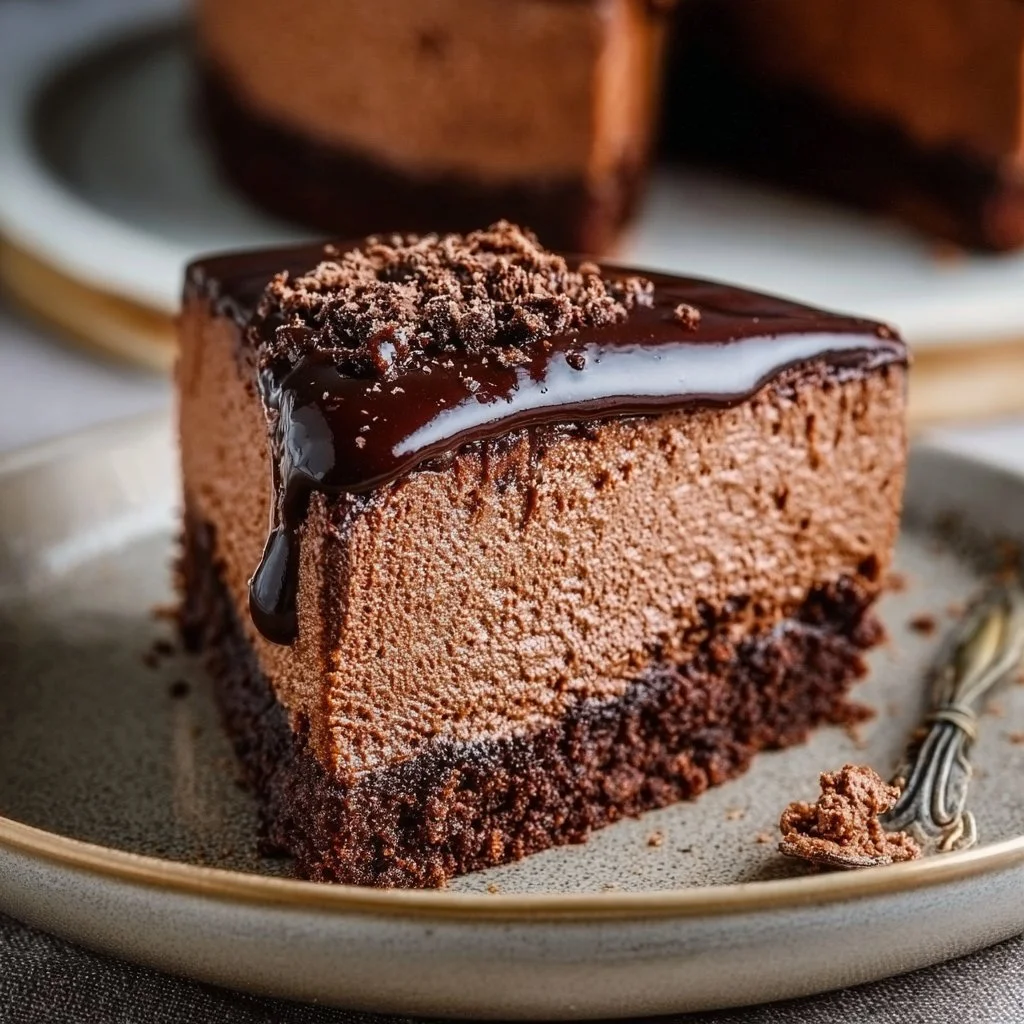
Imagine slicing into a rich, velvety chocolate cake that practically melts in your mouth. It’s topped with a creamy layer of chocolate mousse that makes every bite feel like a little slice of heaven. This Chocolate Mousse Cake is not just a dessert; it’s an experience that you won’t soon forget. Plus, it’s all made in one bowl — you’ll be wondering why you don’t whip this up every day!
Why make this recipe
This recipe comes with some seriously sweet perks!
- Easy Cleanup: You’re only using one bowl for most of the mix, so your kitchen won’t look like a dessert war zone when you’re done.
- Impress Your Friends: It’s fancy enough for a dinner party but easy enough to whip up for a Netflix binge session.
- Chocolate Lovers Unite: Perfect for satisfying that deep chocolate craving we all know too well. 🍫
Ingredients:
You don’t need fancy stuff — just these basics!
- 1 cup all-purpose flour
- 1 cup granulated sugar
- 1/2 cup unsweetened cocoa powder
- 1/2 cup unsalted butter, softened
- 2 large eggs
- 1/2 cup milk
- 1 teaspoon vanilla extract
- 1 cup heavy cream
- 8 oz bittersweet chocolate, melted
- 1/4 cup powdered sugar
Directions:
- Preheat the oven to 350°F (175°C). Grease and flour a round cake pan.
- In a mixing bowl, beat together the butter and granulated sugar until creamy.
- Add eggs one at a time, mixing well after each addition. Stir in vanilla extract.
- In another bowl, sift together flour and cocoa powder. Gradually add dry ingredients to the wet mixture.
- Slowly mix in milk until smooth. Pour the batter into the prepared pan.
- Bake for 25-30 minutes until a toothpick comes out clean. Let the cake cool completely.
- For the mousse, whip heavy cream to soft peaks. Gradually fold in melted chocolate and powdered sugar until combined.
- Once the cake is cooled, slice it in half horizontally. Spread mousse between layers, then on top and sides of the cake.
- Chill in the refrigerator for at least 2 hours before serving. Enjoy!
How to make Chocolate Mousse Cake (Overview)
Making this cake is a walk in the park! First, you whip up that buttery batter and bake your cake while you try not to eat all the leftover chocolate. Let it cool before slathering it with a dreamy chocolate mousse. The key is to chill it well, so those flavors meld together perfectly. Pro tip: don’t rush this part; the waiting is part of the fun!
How to serve Chocolate Mousse Cake
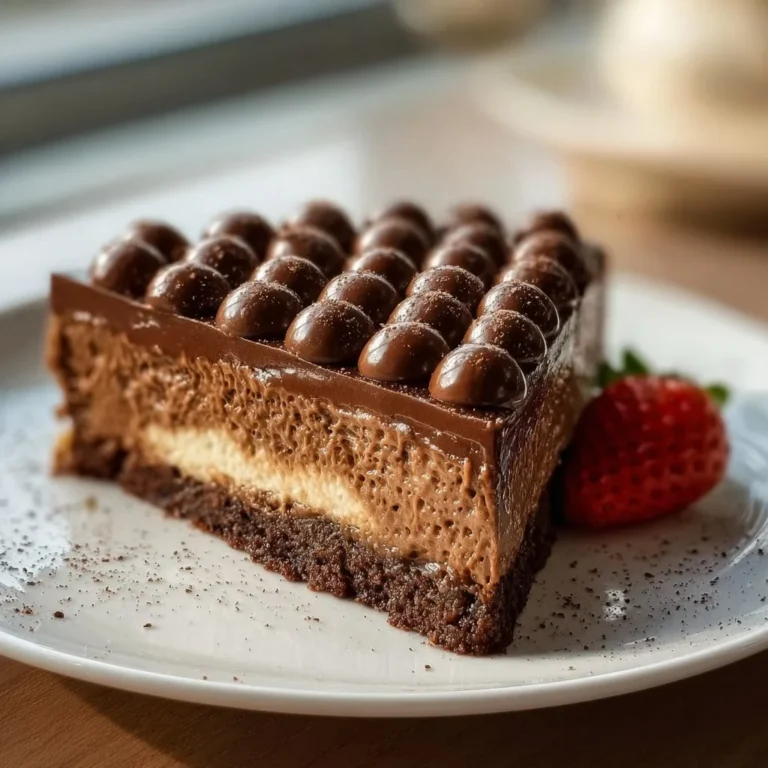
Serve this beauty with a dollop of whipped cream or a sprinkle of chocolate shavings for that extra touch. You can even toss in some fresh berries for a burst of color and sweetness. The combination of crunch from the cake and the creaminess of the mousse guarantees that your sweet tooth is jumping for joy.
How to store Chocolate Mousse Cake
You can keep this cake in the fridge for up to 5 days. Just make sure to cover it well so it stays fresh! If you want to make ahead, you can bake the cake and store that separately; add the mousse right before serving. No one will complain about that little bit of extra planning! 😉
Tips to make Chocolate Mousse Cake
- Use High-Quality Chocolate: The better the chocolate, the better the mousse. Trust me, it makes a world of difference!
- Room Temperature Ingredients: Make sure your butter and eggs are at room temperature for a smoother batter.
- Don’t Overmix: When you fold in the whipped cream, be gentle! This keeps the mousse light and airy.
Variation
Want to switch things up? Try adding a hint of espresso powder to the batter for a rich mocha flavor. For something lighter, substitute coconut milk for the regular milk in the cake, or make it vegan using egg replacements and plant-based butter.
FAQs
-
Can I use different types of chocolate?
Yes! Milk chocolate or a combination can work well, just adjust the sweetness. -
Can I make this cake ahead of time?
Absolutely! Bake the cake and prepare the mousse, then assemble a day before serving for the best flavors. -
Can I freeze leftover cake?
Yes! Wrap slices tightly in plastic wrap and store them in an airtight container for up to 3 months.
📌 Pin this recipe for your next cozy dinner night!

Chocolate Mousse Cake
Ingredients
Method
- Preheat the oven to 350°F (175°C). Grease and flour a round cake pan.
- In a mixing bowl, beat together the butter and granulated sugar until creamy.
- Add eggs one at a time, mixing well after each addition. Stir in vanilla extract.
- In another bowl, sift together flour and cocoa powder. Gradually add dry ingredients to the wet mixture.
- Slowly mix in milk until smooth. Pour the batter into the prepared pan.
- Bake for 25-30 minutes until a toothpick comes out clean. Let the cake cool completely.
- For the mousse, whip heavy cream to soft peaks.
- Gradually fold in melted chocolate and powdered sugar until combined.
- Once the cake is cooled, slice it in half horizontally.
- Spread mousse between layers, then on top and sides of the cake.
- Chill in the refrigerator for at least 2 hours before serving.