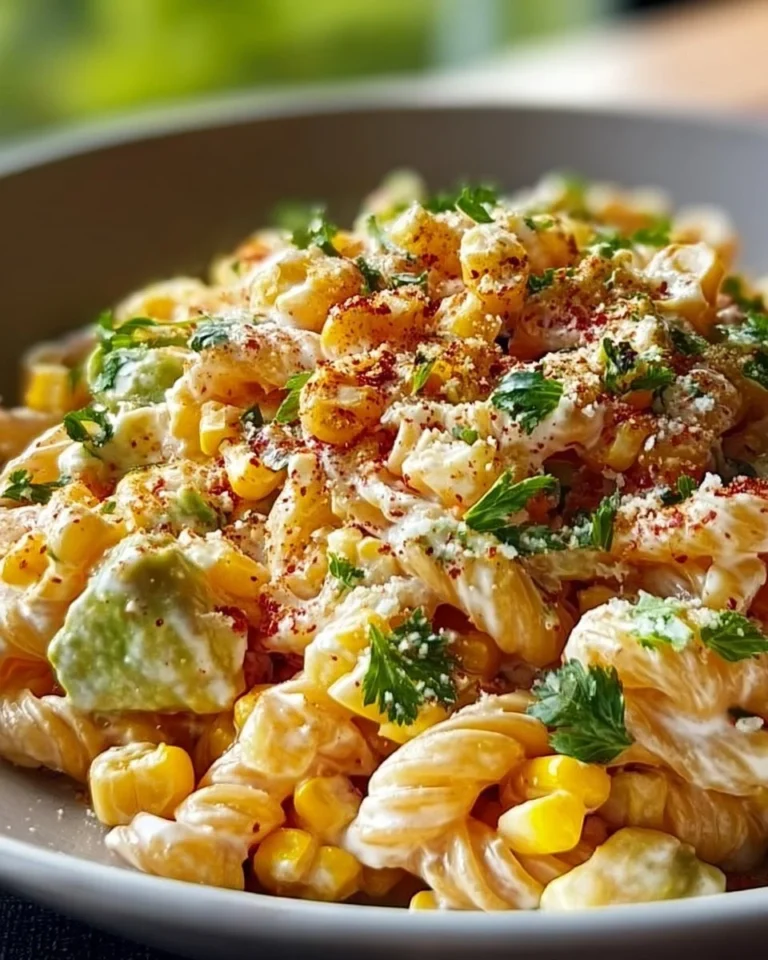
Easy Mexican Street Corn Pasta Salad
Ever taken a bite of street corn and wished you could carry that flavor into a salad?
This Easy Mexican Street Corn Pasta Salad does just that! It’s creamy, vibrant, and oh-so-refreshing, making it a perfect side dish or main star at your next dinner. Plus, it whips up in no time — think 30 minutes tops! Who doesn’t love a quick win in the kitchen?
Why make this recipe
You’ll adore this dish for several reasons:
- Easy cleanup: Everything gets tossed in one bowl. No endless dishes to tackle afterward!
- Affordability: Most ingredients are pantry staples, so you won’t break the bank. A delicious meal doesn’t have to cost a fortune, am I right?
- Family-friendly: Even picky eaters will dive into this uniquely flavorful pasta salad. Let’s face it, nobody can resist creamy goodness with a Mexican flair!
Ingredients
You don’t need fancy stuff — just these basics!
- 8 oz rotini pasta
- 2 cups corn (fresh or frozen; grilled preferred)
- 1/2 cup mayonnaise
- 1/4 cup sour cream
- 1/2 cup cotija cheese (plus extra for garnish)
- 1/4 cup fresh cilantro (plus extra for garnish)
- 1 green onion
- 1 tbsp lime juice
- 1 tsp chili powder
- Salt and pepper to taste
Directions
- Cook the rotini pasta according to package directions in boiling salted water. Drain and rinse under cold water.
- If using fresh corn, grill until lightly charred, then cool and cut kernels off the cob. For frozen corn, thaw and drain well.
- In a large bowl, mix mayonnaise, sour cream, lime juice, chili powder, salt, and pepper until smooth.
- Add cooked pasta, corn, cotija cheese, cilantro, and green onion to the bowl with dressing; toss gently until evenly coated.
- Taste and adjust seasoning as desired. Chill in the refrigerator for at least 30 minutes before serving.
- Garnish with extra cotija cheese and cilantro before serving.

How to make Easy Mexican Street Corn Pasta Salad (Overview)
Making this salad is as simple as a leisurely stroll through the farmers market! Here’s the scoop:
- Start by cooking the pasta and prepping your corn — easy peasy.
- Whip up your creamy dressing, blending all those tangy flavors together.
- Toss everything into a bowl, and let it chill. It’s like putting the salad in time-out so it can gather its tasty thoughts.
- Voilà! You’ve got an irresistible salad ready for the table. Pro tip: Chill it longer for even better flavor mingling!
How to serve Easy Mexican Street Corn Pasta Salad
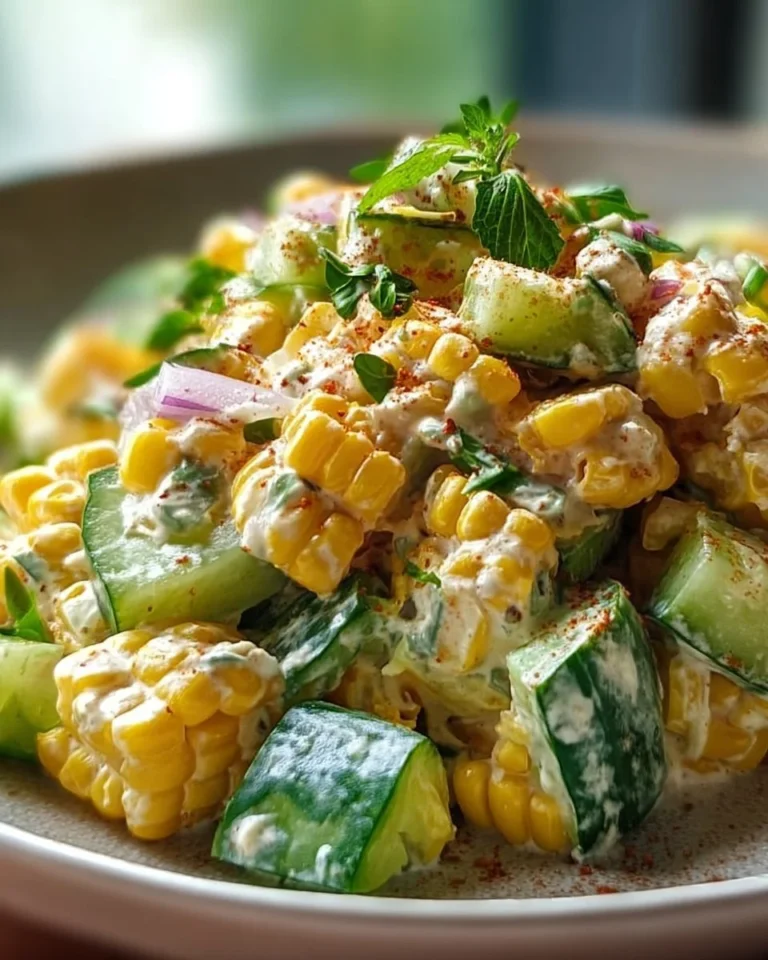
This pasta salad shines as a side dish at picnics or barbecues. Picture it nestled beside grilled chicken or juicy burgers, radiating a cheerful mix of yellows and greens.
- Serve it in a colorful bowl for an eye-catching centerpiece.
- Top it with extra cilantro and cotija cheese for that extra pop of flavor and visual appeal.
- Pair it with crispy tortilla chips for added crunch. Who doesn’t love a little crunch with their meal?
How to store Easy Mexican Street Corn Pasta Salad
Got leftovers? Lucky you! This salad keeps in the fridge for about 3–5 days. Just make sure to store it in an airtight container.
- If you want to make it ahead, whip it up a day in advance. The flavors will mingle beautifully!
- Not a fan of soggy pasta? Avoid freezing; it affects the texture. Instead, enjoy it fresh!
Tips to make Easy Mexican Street Corn Pasta Salad
- Cook pasta al dente: This helps the pasta hold its shape and not get mushy after sitting in the dressing.
- Use fresh corn when you can: The char adds a lovely smoky flavor that takes this salad to the next level.
- Adjust the heat: Love a little spice? Add more chili powder or even some diced jalapeños to kick up the heat!
Variation
Want to switch things up? Try these easy variations:
- Make it vegan: Use a vegan mayo and non-dairy yogurt instead of sour cream.
- Add protein: Toss in some black beans or grilled shrimp for a heartier dish.
FAQs
Can I make this pasta salad a day ahead?
Absolutely! It gets even better as it sits in the fridge. Just let it chill overnight and enjoy!
Can I use different pasta shapes?
You bet! Any short pasta works great. Just stick to sizes that will catch all that delicious dressing.
How do I make it gluten-free?
Swap out regular pasta for a gluten-free variety. It’ll still be just as tasty!
📌 Pin this recipe for your next cozy dinner night!

Easy Mexican Street Corn Pasta Salad
Ingredients
Method
- Cook the rotini pasta according to package directions in boiling salted water. Drain and rinse under cold water.
- If using fresh corn, grill until lightly charred, then cool and cut kernels off the cob. For frozen corn, thaw and drain well.
- In a large bowl, mix mayonnaise, sour cream, lime juice, chili powder, salt, and pepper until smooth.
- Add cooked pasta, corn, cotija cheese, cilantro, and green onion to the bowl with dressing; toss gently until evenly coated.
- Taste and adjust seasoning as desired. Chill in the refrigerator for at least 30 minutes before serving.
- Garnish with extra cotija cheese and cilantro before serving.