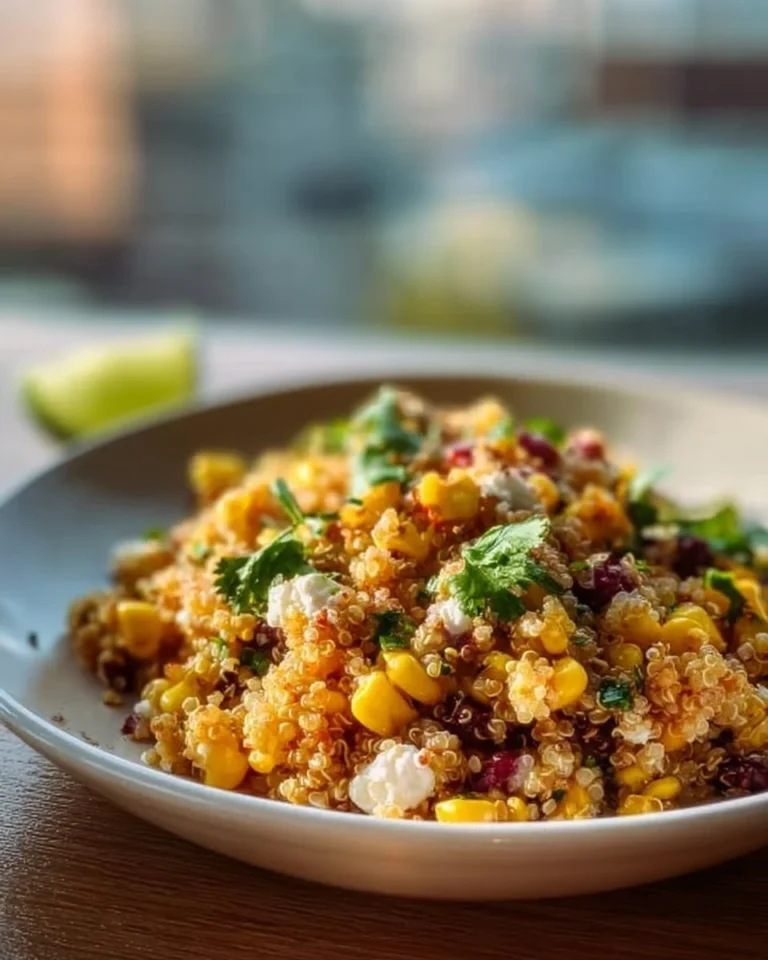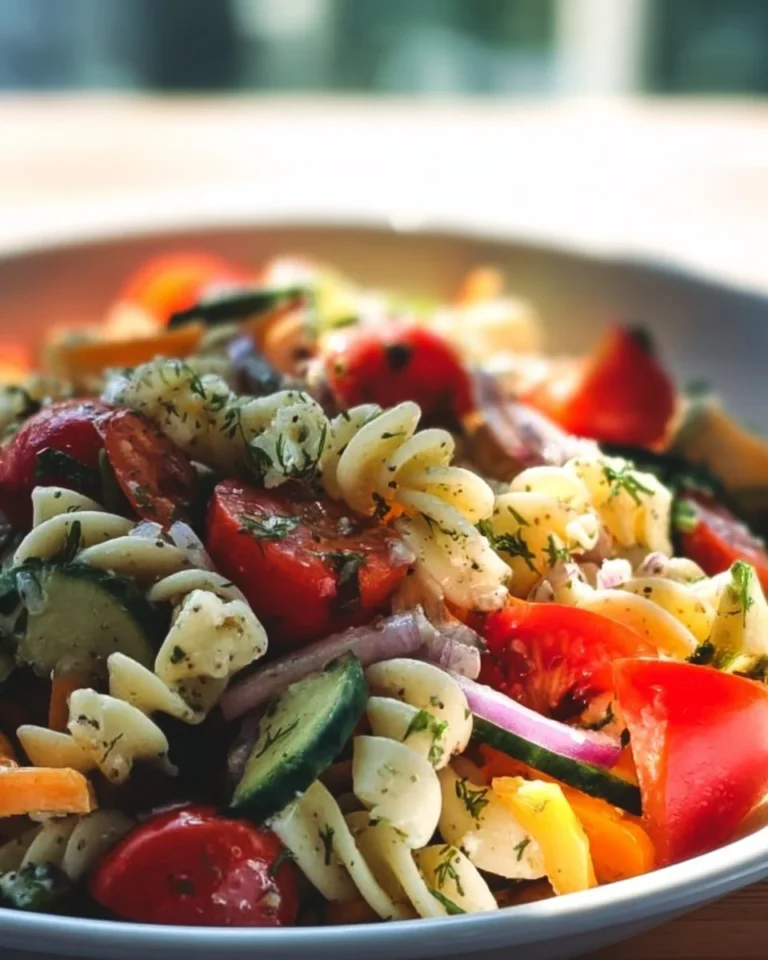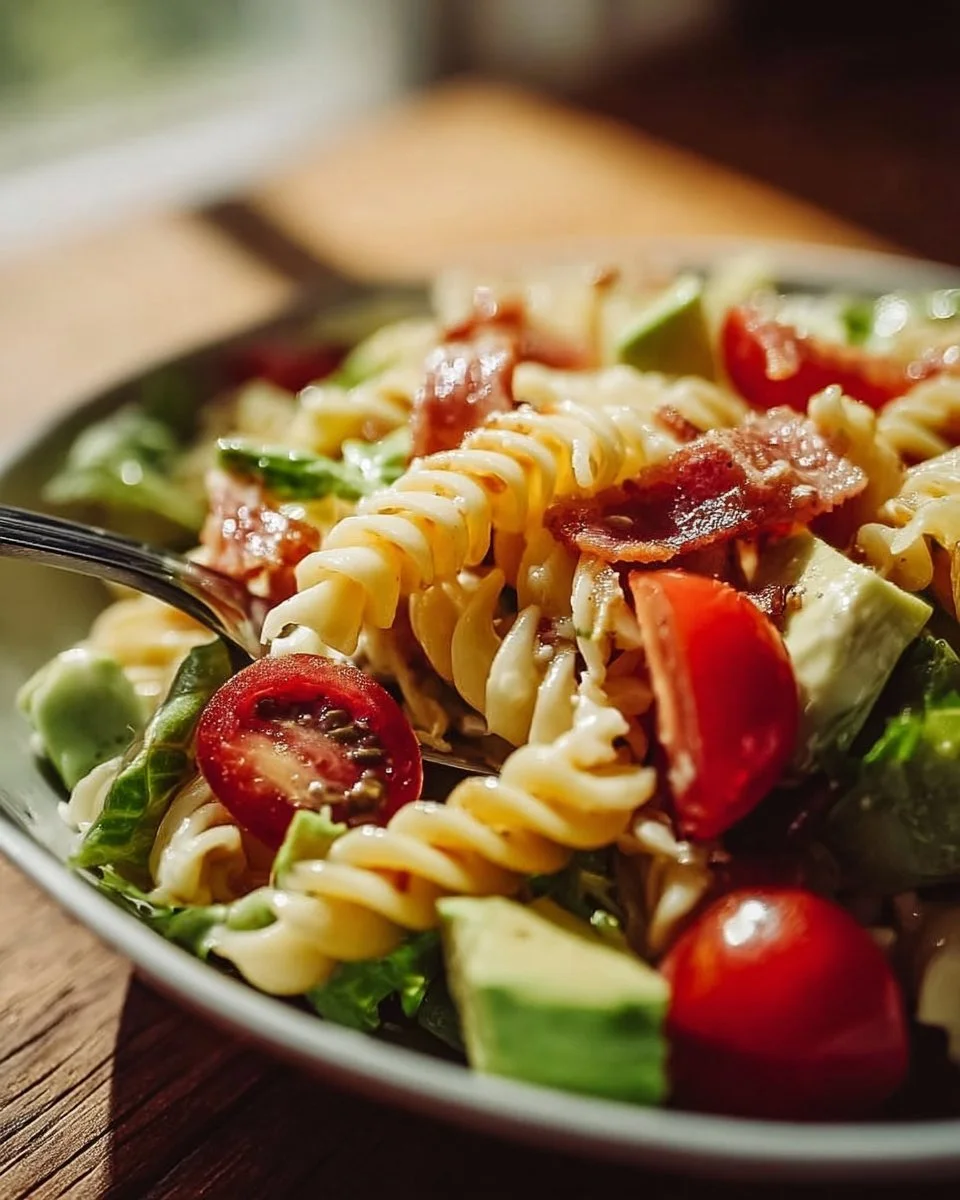
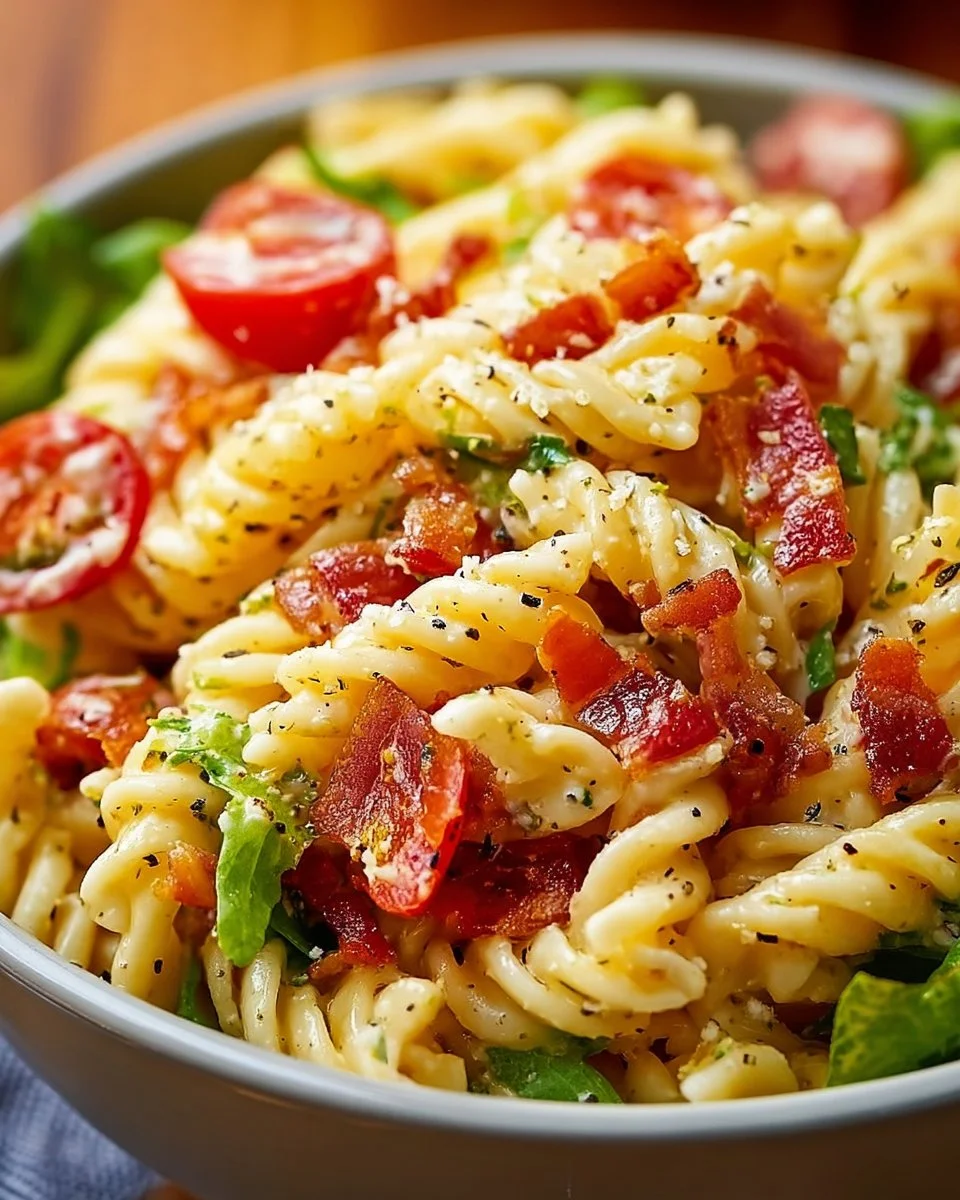
Gluten-Free Dairy-Free BLT Pasta Salad
Craving a summer salad that packs a punch?
Imagine the crisp crunch of fresh lettuce, the smoky satisfaction of crispy bacon, and the juicy burst of cherry tomatoes all swirled together with a creamy dressing. Yes, you’re dreaming of Gluten-Free Dairy-Free BLT Pasta Salad! This easy-to-make dish is the ideal companion for your warm-weather gatherings and is sure to impress even your non-GF/Dairy-Free pals. Plus, it’s a breeze to throw together: easy prep, minimal cleanup, and mega flavor!
Why make this recipe
Let’s get real: who doesn’t love a salad that feels like a full meal? This BLT Pasta Salad combines the heartiness of pasta with the fresh flavors of a classic BLT. It’s family-friendly and perfect for lunches, picnics, or light dinners.
- Convenient: Toss it together in one bowl, and you’re done! Less mess means more time enjoying your meal.
- Customizable: Want to swap out a few ingredients or add a twist? Go for it! This salad is as flexible as a yoga instructor.
- Oh-so-tasty: It’s creamy, crunchy, and bursting with flavor. Your taste buds will thank you!
Ingredients:
You don’t need fancy stuff — just these basics!
- 8 oz gluten-free pasta
- 4 slices bacon (or turkey bacon for dairy-free)
- 1 cup cherry tomatoes, halved
- 1 cup romaine lettuce, chopped
- 1/4 cup red onion, diced
- 1/4 cup dairy-free mayonnaise
- 1 tablespoon apple cider vinegar
- Salt and pepper to taste
Directions:
Follow these easy steps for the perfect BLT Pasta Salad that everyone will rave about!
- Cook the gluten-free pasta according to package instructions. Drain and let it cool.
- In a skillet, cook the bacon until crispy. Remove and let it cool, then chop into pieces.
- In a large bowl, combine the cooled pasta, bacon, cherry tomatoes, romaine lettuce, and red onion.
- In a small bowl, mix together the dairy-free mayonnaise, apple cider vinegar, salt, and pepper.
- Pour the dressing over the salad and toss to combine.
- Serve chilled.
How to make Gluten-Free Dairy-Free BLT Pasta Salad (Overview)
Making this pasta salad is so simple, you might start making it every week! Just cook the pasta, fry the bacon until crispy goodness, and then combine all the fresh ingredients in a big bowl. Make sure to let everything cool a bit because nobody likes a warm salad—yikes! After mixing in your dressing, it’s ready to chill out in the fridge until serving. Pro tip: Chilling the salad for at least 30 minutes enhances all the flavors—trust me, it’s worth the wait!
How to serve Gluten-Free Dairy-Free BLT Pasta Salad
Get creative with your serving options! This salad shines as a standalone dish, but if you’re entertaining, consider serving it in colorful bowls to showcase that vibrancy. You could also layer it in a jar for an eye-catching presentation at a picnic. The crunch of the lettuce, the smokiness of the bacon, and the zesty dressing create a salad that’s not just tasty but also a feast for the eyes!
How to store Gluten-Free Dairy-Free BLT Pasta Salad
This salad stores well in the fridge for about 3 to 4 days. So if you end up with leftovers (unlikely, but possible!), simply keep it in an airtight container. Make-ahead tip: prep the ingredients and store them separately until you’re ready to combine them for maximum freshness. If you try freezing it… well, it’s not going to win any awards for texture.
Tips to make Gluten-Free Dairy-Free BLT Pasta Salad
Here are a few insider tricks to ensure you nail this recipe:
- Pasta choice matters: Use a high-quality gluten-free pasta for the best texture; rice-based ones tend to hold up better.
- Bacon alternatives: If you’re not a bacon fan, try crispy chickpeas for some added crunch.
- Herbs for pizzazz: Toss in some fresh herbs like basil or parsley for an extra flavor boost.
Variation
Craving a twist? You can turn this salad vegan by swapping out bacon for crispy baked tempeh or mushrooms. Feeling adventurous? Try adding diced avocado or even some spicy jalapeños for a kick! The sky’s the limit!
FAQs
1. Can I make it ahead of time?
Absolutely! Just prep the ingredients separately and mix when you’re ready to serve to keep it fresh.
2. What can I use instead of dairy-free mayonnaise?
Substitute with hummus or avocado for a creamy base without the mayo.
3. How do I keep the salad from getting soggy?
Avoid dressing the salad until you’re ready to eat; this keeps the ingredients fresh and crunchy!
📌 Pin this recipe for your next cozy dinner night!

Gluten-Free Dairy-Free BLT Pasta Salad
Ingredients
Method
- Cook the gluten-free pasta according to package instructions. Drain and let it cool.
- In a skillet, cook the bacon until crispy. Remove and let it cool, then chop into pieces.
- In a large bowl, combine the cooled pasta, bacon, cherry tomatoes, romaine lettuce, and red onion.
- In a small bowl, mix together the dairy-free mayonnaise, apple cider vinegar, salt, and pepper.
- Pour the dressing over the salad and toss to combine.
- Serve chilled, optionally allowing it to chill in the fridge for at least 30 minutes for enhanced flavors.