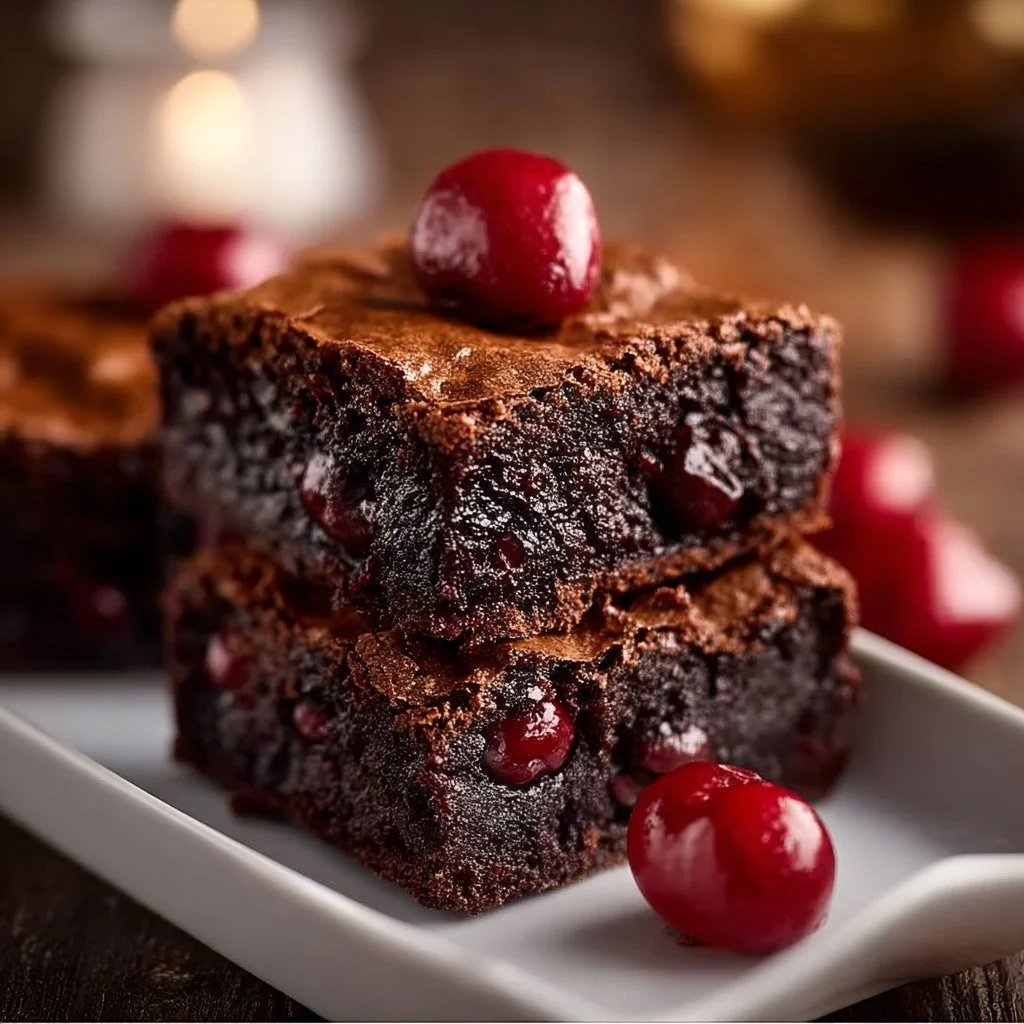
Roasted Cherry Brownies
Ever experienced the delightful pleasure of brownies sprinkled with the juicy goodness of fresh cherries?
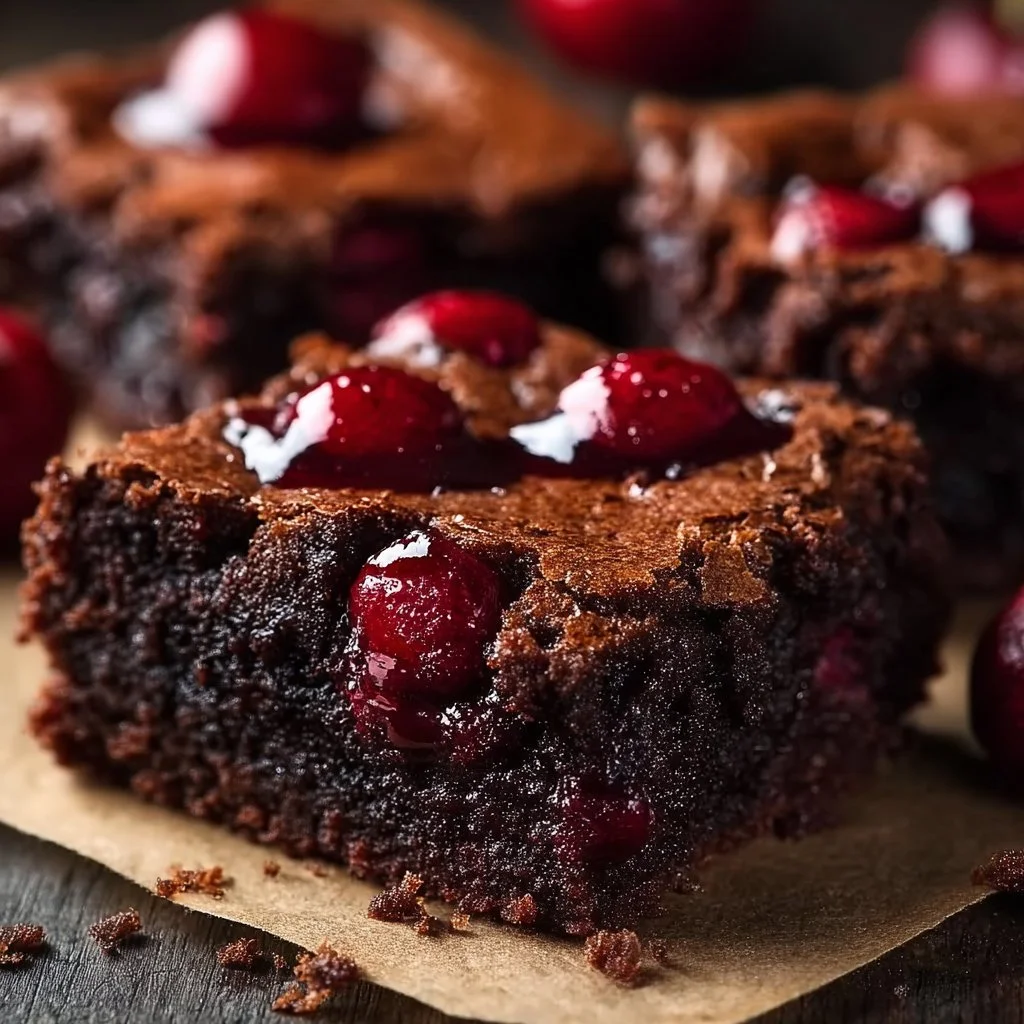
Roasted Cherry Brownies take your typical chocolate fix and elevate it with sweet, tart cherries that meld perfectly with rich cocoa. This delightful treat packs all the chocolatey goodness you crave while introducing a pop of fruity flair. Plus, the best part? You can whip this up in just one pan! Talk about a brownie win.
Why make this recipe
There are reasons to love these brownies that go beyond their flavor. First, easy cleanup is a gamechanger when it comes to baking. Second, they’re incredibly family-friendly — kids and adults alike can’t resist these gooey treats. And honestly, who doesn’t love diving into a batch of fresh brownie goodness, especially when they come with the added wow of roasted cherries? 🍒
Ingredients
You don’t need fancy stuff — just these basics!
- 1 cup unsalted butter
- 2 cups granulated sugar
- 1 cup brown sugar
- 4 large eggs
- 1 teaspoon vanilla extract
- 1 cup all-purpose flour
- 1 cup unsweetened cocoa powder
- 1 teaspoon baking powder
- 1/2 teaspoon salt
- 1 cup fresh cherries, pitted and halved
- 1/2 cup dark chocolate chips
Directions
- Preheat the oven to 350°F (175°C) and grease a 9×13 inch baking pan.
- In a medium saucepan, melt the butter over low heat. Remove from heat and stir in both sugars until combined.
- Add the eggs one at a time, mixing well after each addition, then stir in the vanilla.
- In a separate bowl, whisk together the flour, cocoa powder, baking powder, and salt. Gradually add the dry ingredients to the butter mixture, mixing just until combined.
- Fold in the cherries and dark chocolate chips.
- Pour the batter into the prepared baking pan and spread evenly.
- Bake for 30-35 minutes, or until a toothpick inserted into the center comes out with a few moist crumbs.
- Allow to cool before cutting into squares and serving.
How to make Roasted Cherry Brownies (Overview)
Whipping up these brownies is a breeze! First, you’ll melt the buttery goodness and mix in sugars like a pro. Add in those lovely eggs and vanilla, crucial for that rich flavor. 👩🍳 Next, gently mix the dry ingredients, and don’t forget to fold in those cherries and dark chocolate chips at the end! Pour the magic into your greased pan, and let the oven do its thing for a cozy 30-35 minutes. Pro tip: Resist the urge to peek too often — those brownies need to set just right!
How to serve Roasted Cherry Brownies
When it comes to serving these beauties, the world is your oyster. Imagine them warm and gooey, topped with a scoop of vanilla ice cream — pure bliss! The contrast of the melty chocolate and the burst of juicy cherries makes your taste buds dance. For an elegant touch, sprinkle a bit of powdered sugar on top or drizzle some ganache. Seriously, watch your friends swoon!
How to store Roasted Cherry Brownies
Store these luscious brownies in an airtight container at room temperature for up to 3 days. If you want to keep them fresh longer, pop them in the fridge for about a week or freeze them for up to a month! Just make sure to let them cool fully before storing. And when you crave a warm treat, simply pop them in the microwave for a few seconds — because we all know brownies are best enjoyed warm. 😉
Tips to make Roasted Cherry Brownies
- Use room temperature eggs for a smoother batter. Cold eggs can block that velvety texture!
- For an extra chocolatey kick, add an extra 1/4 cup of dark chocolate chips.
- If you have leftover cherries, try roasting them a bit longer to deepen their flavor before adding them to your batter. Yum!
- For less sweetness, reduce the granulated sugar by 1/2 cup.
Variation
Want to switch things up? You can easily make these brownies vegan by swapping eggs with flax eggs and using a dairy-free butter substitute. How about adding a pinch of sea salt on top for that sweet-salty combo? Feeling adventurous? Toss in some nuts or caramel swirls for an extra dimension.
FAQs
-
Can I use frozen cherries instead?
Yes! Just make sure to thaw and drain them first to avoid excess moisture in your brownies. -
How can I make these brownies gluten-free?
Simply substitute the all-purpose flour with a 1:1 gluten-free flour blend. -
What’s the best way to reheat brownies?
Microwave them for about 10-15 seconds for that just-baked warmth. Enjoy!
📌 Pin this recipe for your next cozy dinner night!

Roasted Cherry Brownies
Ingredients
Method
- Preheat the oven to 350°F (175°C) and grease a 9x13 inch baking pan.
- In a medium saucepan, melt the butter over low heat. Remove from heat and stir in both sugars until combined.
- Add the eggs one at a time, mixing well after each addition, then stir in the vanilla.
- In a separate bowl, whisk together the flour, cocoa powder, baking powder, and salt.
- Gradually add the dry ingredients to the butter mixture, mixing just until combined.
- Fold in the cherries and dark chocolate chips.
- Pour the batter into the prepared baking pan and spread evenly.
- Bake for 30-35 minutes, or until a toothpick inserted into the center comes out with a few moist crumbs.
- Allow to cool before cutting into squares and serving.