Easy Spicy Salmon Sushi Bake
Who doesn’t love a savory bake that’s as easy as it is delicious?
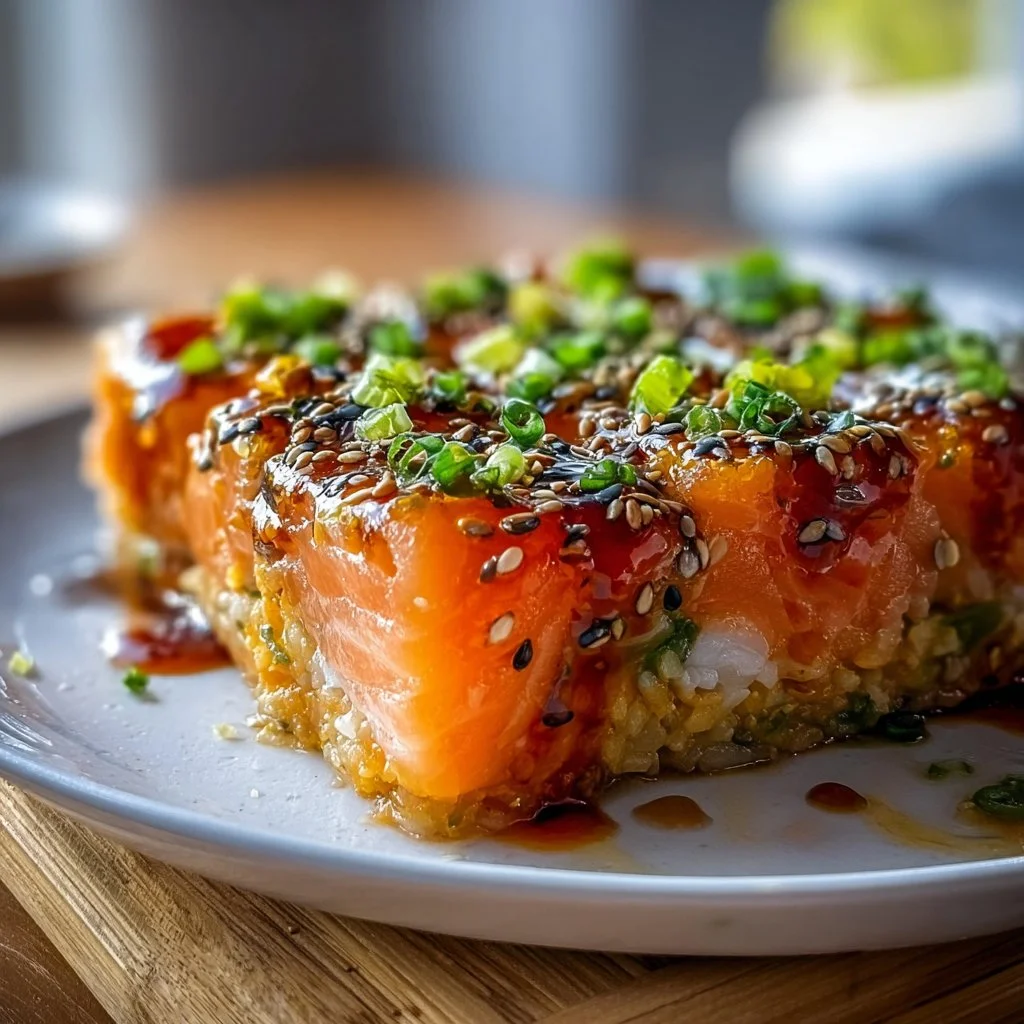
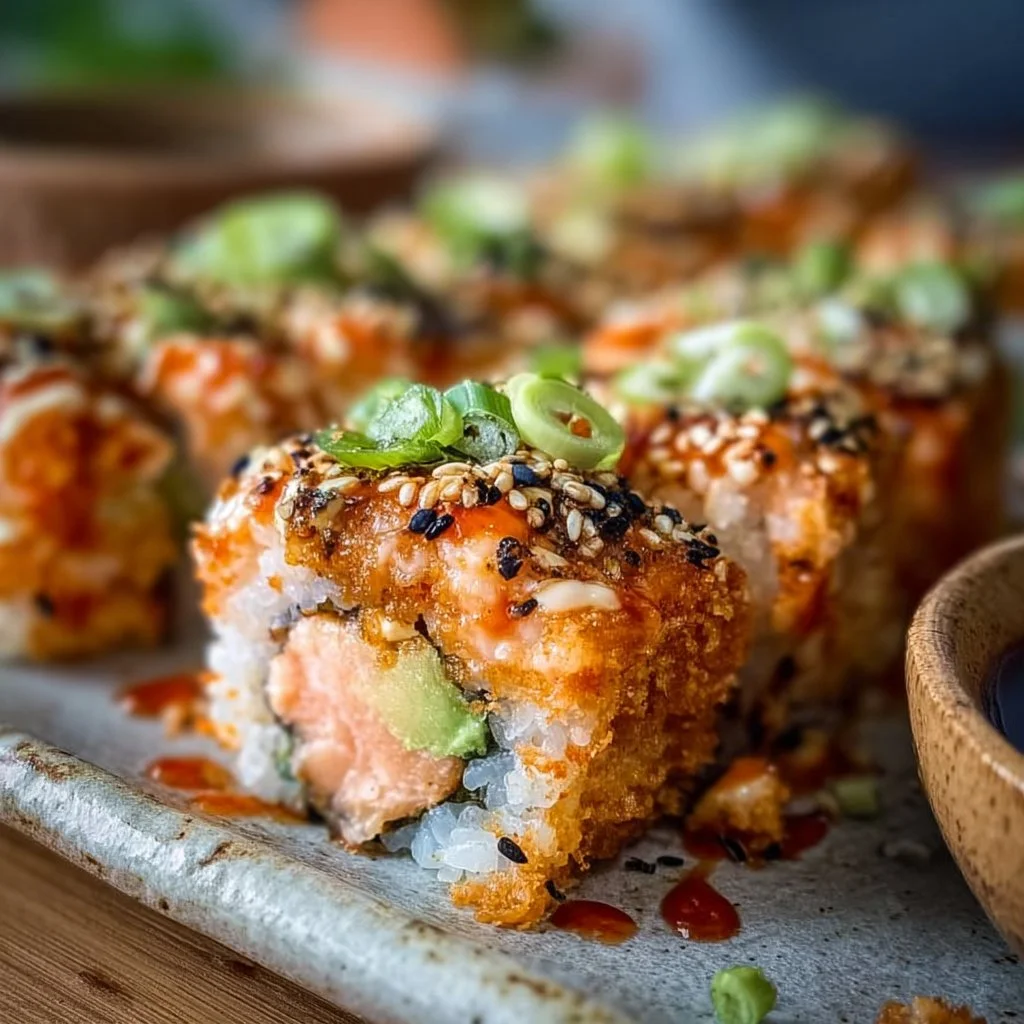
Imagine digging into a comforting tray of Easy Spicy Salmon Sushi Bake, with layers of creamy salmon goodness and perfectly cooked sushi rice. This dish takes your sushi cravings and transforms them into a hassle-free baking experience. It’s quick to whip up and brings the taste of sushi right to your home — no sushi rolling skills or fancy utensils required!
Why make this recipe
You might wonder why you should even try this recipe. Well, here are a couple of irresistible reasons:
- Easy Cleanup: Who wants to deal with a mountain of dishes after dinner? With this one-pan wonder, you just need a baking dish, a bowl, and your trusty rice cooker.
- Family-Friendly: Whether you’re feeding a crowd or entertaining, this dish is a guaranteed hit. Plus, it’s customizable, so everyone can dig in without worrying about picky eaters!
Ingredients:
You don’t need fancy stuff — just these basics!
- 2 cups sushi rice
- 2 1/2 cups water
- 1 lb salmon fillet, skinless and boneless
- 1/4 cup mayonnaise
- 2 tablespoons sriracha
- 1 tablespoon soy sauce
- 1 teaspoon sesame oil
- 2 green onions, chopped
- 1 sheet nori, cut into strips
- Sesame seeds for garnish
Directions:
Here’s how to create this masterpiece in just a few easy steps:
- Preheat your oven to 375°F (190°C).
- Rinse sushi rice under cold water until the water runs clear, then cook in a rice cooker with water according to rice cooker instructions.
- While the rice cooks, prepare the spicy salmon mixture: In a bowl, combine diced salmon, mayonnaise, sriracha, soy sauce, and sesame oil. Mix until well integrated.
- Once the rice is done, spread it in an even layer in a greased baking dish.
- Top the rice with the salmon mixture, spreading it evenly over the surface.
- Bake in the preheated oven for about 15-20 minutes until the salmon is cooked through and the top is golden.
- Remove from the oven and sprinkle with chopped green onions and sesame seeds.
- Serve warm, garnished with nori strips.
How to make Easy Spicy Salmon Sushi Bake (Overview)
Let’s break this down in a relaxed way. Start by cooking your sushi rice because good rice is the foundation of any sushi bake! While that’s going, you’ll whip up the creamy salmon topping that’s so good you’ll want to eat it by the spoonful. Once everything’s ready, layer it in a greased baking dish, pop it in the oven, and voila! 🌟
Pro Tip: Use a metal spoon or spatula for spreading — it prevents sticking and keeps the layers nice and even.
How to serve Easy Spicy Salmon Sushi Bake
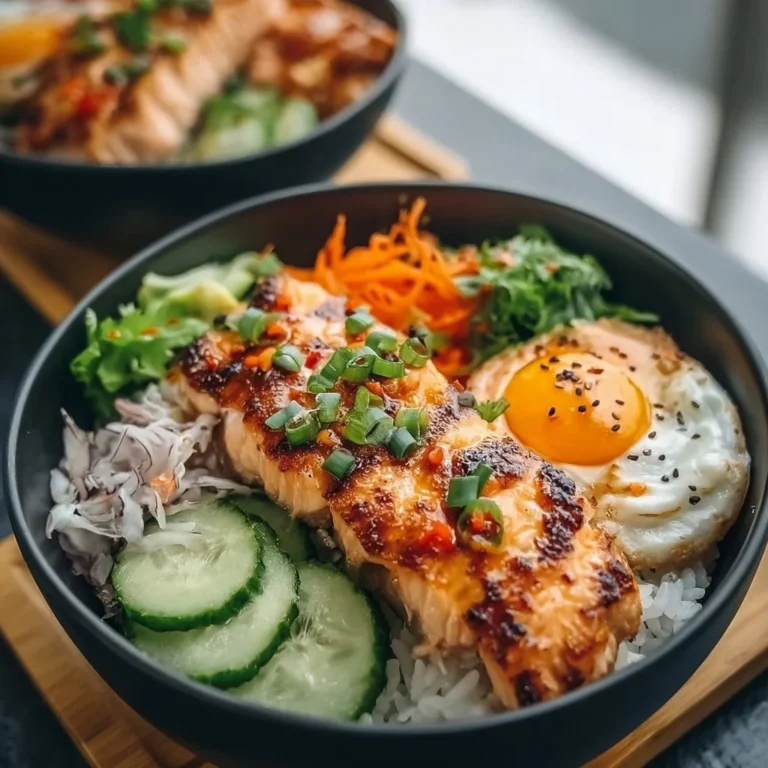
When it comes to serving, think colorful and vibrant! Lay out some crispy nori strips on the side for crunch. You could even pair it with a light cucumber salad to balance the dish’s warmth. Imagine that savory bake drizzled with creamy sauce, topped with bright green onions, and a sprinkle of sesame seeds. Your taste buds will thank you!
How to store Easy Spicy Salmon Sushi Bake
Got leftovers? The Easy Spicy Salmon Sushi Bake stores beautifully! Keep it sealed in an airtight container in the fridge for up to 3 days. For longer storage, freeze it for up to 2 months. When you’re ready to indulge again, just reheat in the oven or microwave until warm. Mmmm, leftover sushi bake is almost as good as the first round!
Tips to make Easy Spicy Salmon Sushi Bake
- Timing is Everything: Make sure your rice is fully cooked before layering. Nothing ruins a bake like crunchy rice!
- Salmon Swap: Can’t find fresh salmon? Canned salmon works too! Just make sure to drain it well.
- Spice Level: Adjust the amount of sriracha to control your heat level. More sriracha = more fun. 😉
- Texture Trouble: For extra crunch, consider topping with panko breadcrumbs before baking.
Variation
Feel adventurous? Try adding extra toppings! You could toss in some avocado for creaminess, or even go vegan by swapping the salmon for diced mushrooms or tofu. The number of tasty variations is practically unlimited!
FAQs
1. Can I make this sushi bake ahead of time?
Absolutely! Prep it the night before and refrigerate it. Just pop it in the oven when you’re ready!
2. Can I use brown rice instead of sushi rice?
Sure! Just expect a bit of a different texture. Brown rice has more bite, which can be quite delightful.
3. What if I don’t have sushi vinegar?
No worries! You can skip it in this recipe. The mayo and sriracha add enough flavor to make your tastebuds dance!
📌 Pin this recipe for your next cozy dinner night!

Easy Spicy Salmon Sushi Bake
Ingredients
Method
- Preheat your oven to 375°F (190°C).
- Rinse sushi rice under cold water until the water runs clear, then cook in a rice cooker with water according to rice cooker instructions.
- While the rice cooks, prepare the spicy salmon mixture: In a bowl, combine diced salmon, mayonnaise, sriracha, soy sauce, and sesame oil. Mix until well integrated.
- Once the rice is done, spread it in an even layer in a greased baking dish.
- Top the rice with the salmon mixture, spreading it evenly over the surface.
- Bake in the preheated oven for about 15-20 minutes until the salmon is cooked through and the top is golden.
- Remove from the oven and sprinkle with chopped green onions and sesame seeds.
- Serve warm, garnished with nori strips.