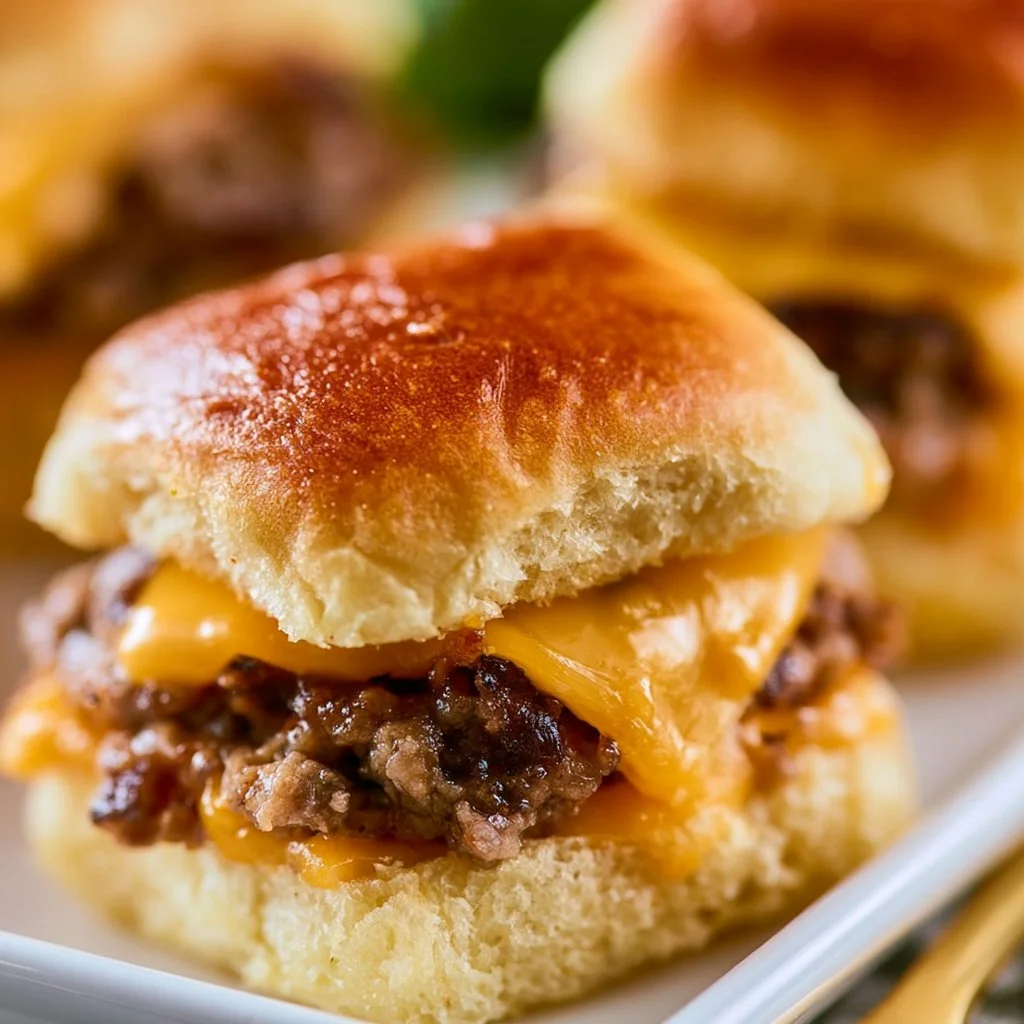
Cheeseburger Sliders
Mouthwatering Mini Wonders
Ever bitten into a juicy cheeseburger slider that instantly transports you to BBQ bliss? These little delights are perfect for a crowd, and trust me, they disappear faster than you can say “extra cheese.” Quick, delicious, and oh-so-satisfying, these sliders hit that sweet spot between gourmet and casual eating!
Why Make This Recipe
First off, who doesn’t love easy cleanup? One pan and you’re done—less mess, more fun! Plus, they’re super affordable; you won’t need to break the bank to satisfy those cravings. And did I mention that they’re family-friendly? Kids and adults alike will cheer for these tasty treats at any gathering. Just imagine the smiles—and maybe a few happy dances around the kitchen! 😉
Ingredients
You don’t need fancy stuff — just these basics!
- 1 lb ground beef
- 8 slices cheddar cheese
- 1 package slider buns
- 1/4 cup ketchup
- 1/4 cup mustard
- 1/2 onion, diced
- Salt and pepper to taste
Directions
- Preheat the oven to 375°F (190°C).
- In a skillet over medium heat, brown the ground beef and season with salt and pepper.
- Drain excess fat and stir in diced onion.
- Cut the slider buns in half and place the bottom halves in a baking dish.
- Spread ketchup and mustard on the buns, then add the ground beef mixture on top.
- Place a slice of cheddar cheese on each slider.
- Cover with the top halves of the buns.
- Bake for about 15 minutes, or until the cheese is melted.
- Serve warm.

How to Make Cheeseburger Sliders (Overview)
Let’s break it down, shall we? Start by browning that beef in a skillet—don’t worry, it’ll smell heavenly. Once it’s perfectly cooked, toss in those onions; the crunch will elevate everything. Slice your buns, layer on the ketchup and mustard, then pile on that savory beef mixture. Top it off with a cheesy slice and slide it into the oven. So simple, you might think you’ve accidentally joined a cooking show! Pro tip: let the cheese melt into gooey perfection.
How to Serve Cheeseburger Sliders
Serve these sliders with a side of crunchy potato chips for extra texture and flavor. Or, get adventurous with some spicy pickles and a dollop of sriracha for a zesty kick. As you take your first bite, you’ll notice that rich, savory aroma wafting up. Trust me, your taste buds will thank you!
How to Store Cheeseburger Sliders
Got leftovers? Lucky you! These sliders can hang out in the fridge for up to 3 days. Just cover them snugly so they don’t dry out. Want to freeze them? Go for it! They can last up to 3 months in the freezer. When you’re ready to devour them again, simply reheat in the oven until they’re gloriously warm and melty.
Tips to Make Cheeseburger Sliders
- Mix it up: Want to swap out the beef? Ground turkey or veggie crumbles work like a charm.
- Cheese please: Try different cheeses like pepper jack for a spicy twist.
- Prep ahead: Assemble your sliders in the baking dish the night before. Just pop them in the oven when you’re ready!
Variation
Feeling adventurous? Toss in some bacon bits to elevate your sliders to a whole new level of deliciousness. Or, go vegan with black bean patties and dairy-free cheese—everyone loves a twist on a classic!
FAQs
Can I make these sliders ahead of time?
Absolutely! You can prep them the night before and bake them right before serving.
Can I freeze leftover sliders?
Yes, they freeze well! Just wrap them tightly and store for up to 3 months.
What can I serve with cheeseburger sliders?
Chips, salad, or even a side of coleslaw will complement these sliders beautifully.
📌 Pin this recipe for your next cozy dinner night!
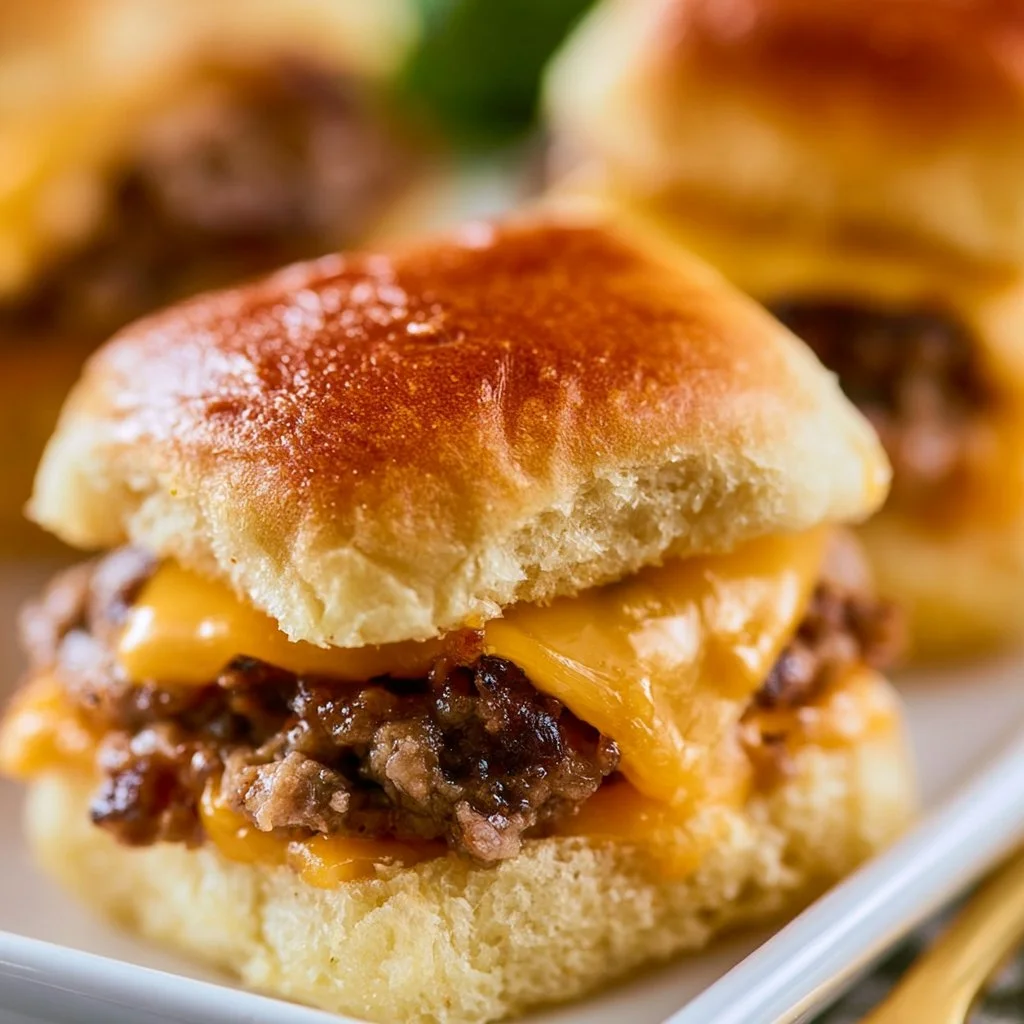
Cheeseburger Sliders
Ingredients
Method
- Preheat the oven to 375°F (190°C).
- In a skillet over medium heat, brown the ground beef and season with salt and pepper.
- Drain excess fat and stir in diced onion.
- Cut the slider buns in half and place the bottom halves in a baking dish.
- Spread ketchup and mustard on the buns, then add the ground beef mixture on top.
- Place a slice of cheddar cheese on each slider.
- Cover with the top halves of the buns.
- Bake for about 15 minutes, or until the cheese is melted.
- Serve warm.