Chickpea Pancakes
Fluffy Chickpea Pancakes That Will Make You Want More
Ever tried a pancake that’s both fluffy and packed with nutrients? Imagine sinking your teeth into a deliciously savory pancake that’s not only quick to whip up but also makes you feel good. Chickpea pancakes are the heroes of the breakfast (or snack) table! They’re the perfect blend of easy preparation and comforting flavor, making breakfast exciting again. Trust me, your taste buds will thank you!

Why Make This Recipe
So why should you jump on the chickpea pancake train? Let me break it down:
- Easy Cleanup: One bowl, one pan – that’s it. Who doesn’t love a minimal mess after a delicious meal? 🙌
- Affordable: With just a few ingredients, you’ll save some bucks while still enjoying a delicious dish. Your wallet will also appreciate it!
- Family-Friendly: Kids love pancakes, and these are packed with nutrition. Plus, you can sneak in those veggies they usually resist. Genius, right?
Ingredients
You don’t need fancy stuff — just these basics!
- 1 cup chickpea flour
- 1 cup water
- 1/2 teaspoon salt
- 1/2 teaspoon turmeric (optional)
- 1/2 cup chopped vegetables (e.g., spinach, bell peppers, onions)
- Cooking oil for frying
- Yogurt for serving
- Avocado for serving
- Dipping sauce of choice
Directions
Ready to dive in? Follow these easy steps for your flavorful pancakes:
- In a bowl, combine chickpea flour, water, salt, and turmeric until you have a smooth batter.
- Stir in your choice of chopped vegetables.
- Heat a non-stick skillet over medium heat and add a little cooking oil.
- Pour 1/4 cup of the batter into the skillet, spreading it out to form a pancake.
- Cook for 2-3 minutes on each side until golden brown.
- Repeat with the remaining batter, adding more oil to the skillet as needed.
- Serve warm with yogurt, avocado, or your favorite dipping sauce.
How to Make Chickpea Pancakes (Overview)
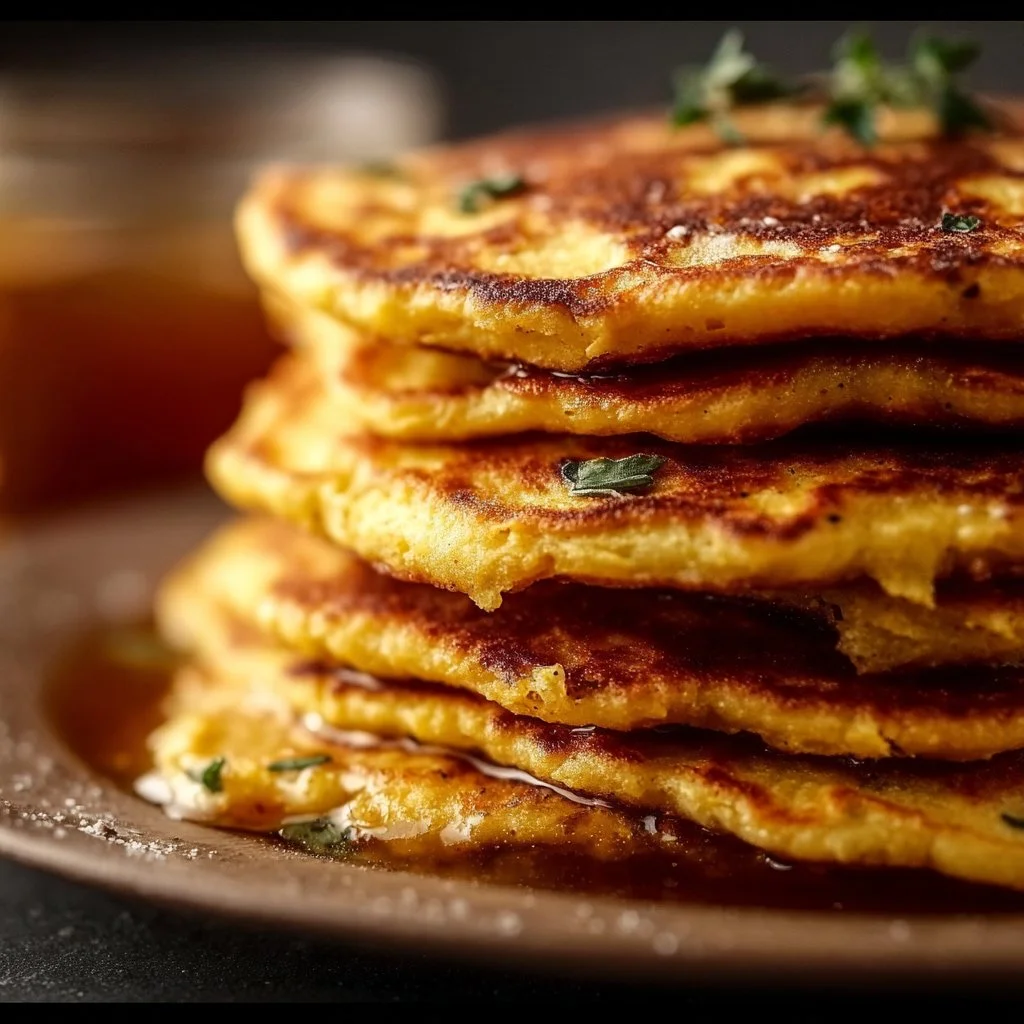
Let’s chat about the process. First, you mix the chickpea flour with water until it’s silky smooth. Then toss in your favorite veggies; I love adding spinach and bell peppers for that extra crunch and color! Heat a skillet, pour, and cook until golden. It’s really that simple. Pro tip: Make sure your skillet is hot enough to get that perfect crisp on the pancakes. Who wants sad, soggy pancakes, right?
How to Serve Chickpea Pancakes
The serving options are endless! Picture this: golden pancakes topped with creamy avocado slices, a dollop of cool yogurt, and a splash of your favorite sauce drizzled on top. Maybe some spicy salsa if you’re feeling adventurous? The colors and textures will make your plate pop, and the aroma? Utterly mouthwatering! 🌿
How to Store Chickpea Pancakes
Leftovers? No problem! These pancakes store well in the fridge for up to 3-4 days. Just pop them in an airtight container. For longer storage, freeze them – they can last for about 2 months. When you’re ready to enjoy, just reheat them in a skillet or toaster oven until warm and crispy again. Easy peasy!
Tips to Make Chickpea Pancakes
Here are a few insider tricks to nail these pancakes:
- Don’t skip the salt: It enhances the flavor, trust me!
- Add spices: A pinch of cumin or chili powder can give them a lovely kick.
- Mix-ins galore: Feel free to experiment with different vegetables or herbs based on what you have handy.
- Batch prep: Make a bigger batch at once, and freeze them for easy meal prep. Genius, right? 😄
- Perfectly sized pancakes: Use a measuring cup for uniformity, so they all cook evenly.
Variation
Want to mix things up? Here are some quick ideas:
- Vegan twist: It’s already vegan-friendly, but you can also add a splash of plant-based milk instead of water for creaminess.
- Cheesy delight: Consider incorporating vegan cheese for a cheesy kick. Yum!
- Spice it up: Toss in a handful of chopped chilies for a spicy version. Your taste buds will thank you! 🌶️
FAQs
1. Can I use all-purpose flour instead of chickpea flour?
Absolutely! But you’ll miss out on that unique flavor and nutrition chickpea flour brings.
2. Can I make these pancakes ahead of time?
You can! Make them in advance and pop them in the fridge or freezer for a quick meal later.
3. What can I use instead of yogurt for serving?
Try hummus, sour cream, or your favorite dipping sauce for an extra punch.
Don’t miss out on these delicious and nutritious chickpea pancakes! Perfect for any meal—breakfast, lunch, or dinner. 🍽️
📌 Pin this recipe for your next cozy dinner night!

Chickpea Pancakes
Ingredients
Method
- In a bowl, combine chickpea flour, water, salt, and turmeric until you have a smooth batter.
- Stir in your choice of chopped vegetables.
- Heat a non-stick skillet over medium heat and add a little cooking oil.
- Pour 1/4 cup of the batter into the skillet, spreading it out to form a pancake.
- Cook for 2-3 minutes on each side until golden brown.
- Repeat with the remaining batter, adding more oil to the skillet as needed.
- Serve warm with yogurt, avocado, or your favorite dipping sauce.