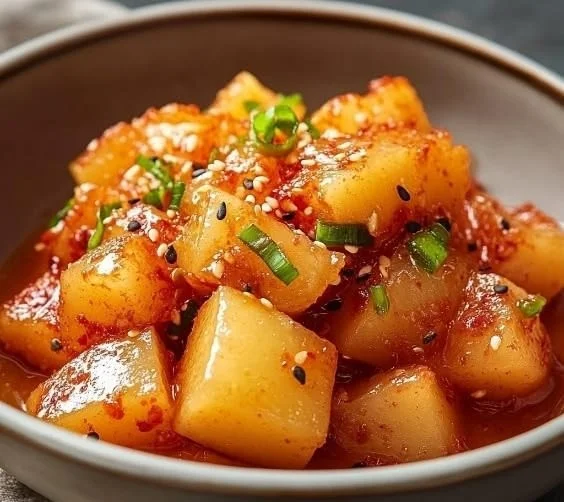
Korean Pickled Radish
Discovering the Crunchy Goodness of Korean Pickled Radish
Ever had a side dish that elevated your meal and left you wanting more? Korean Pickled Radish is that secret weapon! This bright and crunchy delight brings an addictive balance of sweetness and tanginess to your plate. Plus, it’s a breeze to whip up, so you can serve it alongside any dish without breaking a sweat.

Why Make This Recipe
So, why should you dive into making this delightful pickled radish?
- Super Simple: No complex techniques here. If you can chop and stir, you can create this masterpiece!
- Affordable and Accessible: Most ingredients are pantry staples, making it easy on the wallet and your schedule.
- Versatile Delight: Perfect as a side with sushi, rice, or even on tacos! Who says pickles can’t be fun?
Ingredients:
You don’t need fancy stuff — just these basics!
- 2 cups daikon radish, peeled and cut into matchsticks
- 1/2 cup rice vinegar
- 1/4 cup sugar
- 1 tablespoon salt
- 1/2 cup water
- 1 tablespoon soy sauce
- 1 teaspoon sesame seeds
- 1 tablespoon chili flakes (optional)
Directions:
- In a bowl, combine the rice vinegar, sugar, salt, water, and soy sauce. Stir until the sugar and salt dissolve.
- Add the matchstick radishes to the mixture and stir until well-coated.
- If using, sprinkle in the chili flakes for a spicy kick.
- Transfer the mixture to a jar, sealing it tightly.
- Refrigerate for at least 24 hours before serving to really let those flavors develop.
- Serve as a punchy side dish with rice, sushi, or grilled meats.
How to Make Korean Pickled Radish (Overview)
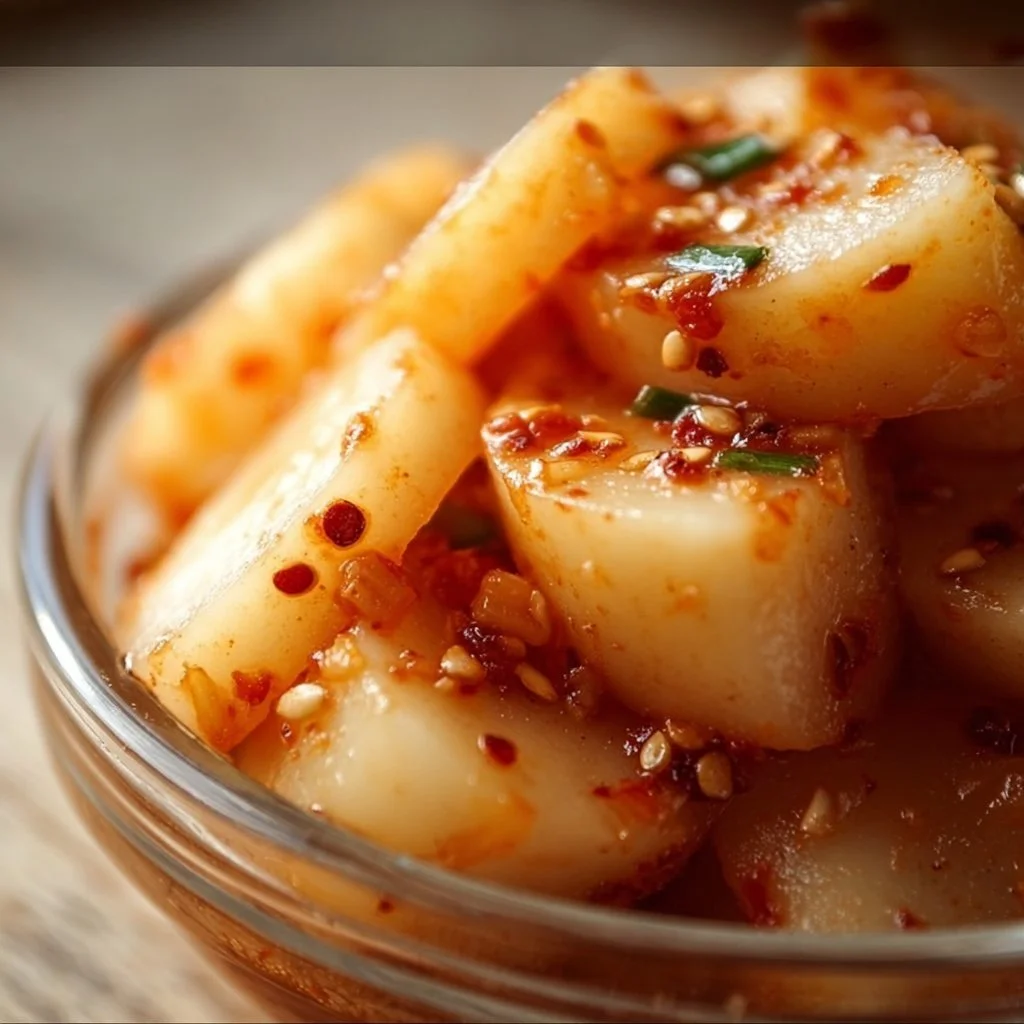
Making Korean Pickled Radish is as easy as pie, but without the stress of baking! Start by mixing all your liquids and seasonings in a bowl. Toss in those cute little matchstick radishes, give it a good stir, and let that vibrant mixture get cozy in the fridge for a day. Pro tip: The longer they sit, the better they taste! Can you even handle the anticipation? 😉
How to Serve Korean Pickled Radish
Beautify your plate with Korean Pickled Radish! The vibrant yellow hue adds a splash of color, while the crunchy texture brings an exciting contrast to your meals. Picture this: a bowl of fluffy rice topped with some sliced grilled chicken, all jazzed up by those pickled radishes. The aroma? Straight-up heavenly! 🙌
How to Store Korean Pickled Radish
Store your pickled radish in the fridge for up to 2-3 weeks. Honestly, though, it probably won’t last that long! Want to save some time? Make a big batch ahead of your holiday gatherings. Just be sure to keep them in an airtight container, and they’ll stay fresh and zesty!
Tips to Make Korean Pickled Radish
- Timing is Everything: Give those radishes at least 24 hours to marinate for optimal flavor.
- Don’t Skip the Soy Sauce: It adds an umami depth that takes the dish from good to great.
- Texture Trick: Slice radishes evenly for consistent crunch. No one likes mushy pickles!
- Adjust the Heat: Feel free to skip the chili flakes if you like it mild—your taste buds, your rules!
- Experiment with Sweetness: Adjust the sugar level based on your preference for a sweeter or tangier finish.
Variation
Want to mix things up? Try adding different spices like ginger or garlic for extra flavor. You could even toss in chopped veggies like carrots for a colorful twist. It’s your pickled radish adventure—get creative! 🍽️
FAQs
How long does Korean pickled radish last?
In the fridge, they stay good for 2-3 weeks, but I bet they’ll be gone long before that!
Can I use a different type of vinegar?
Absolutely! Apple cider vinegar works fine too if you’re looking for a different tint of flavor.
Can I make these radish pickles ahead of time?
Yes, you can make them several days in advance. Just store them in an airtight jar in the fridge!
📌 Pin this recipe for your next cozy dinner night!
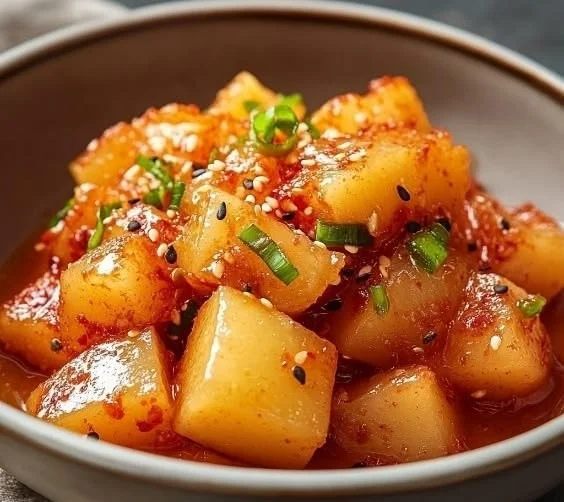
Korean Pickled Radish
Ingredients
Method
- In a bowl, combine the rice vinegar, sugar, salt, water, and soy sauce. Stir until the sugar and salt dissolve.
- Add the matchstick radishes to the mixture and stir until well-coated.
- If using, sprinkle in the chili flakes for a spicy kick.
- Transfer the mixture to a jar, sealing it tightly.
- Refrigerate for at least 24 hours before serving to let the flavors develop.
- Serve as a punchy side dish with rice, sushi, or grilled meats.