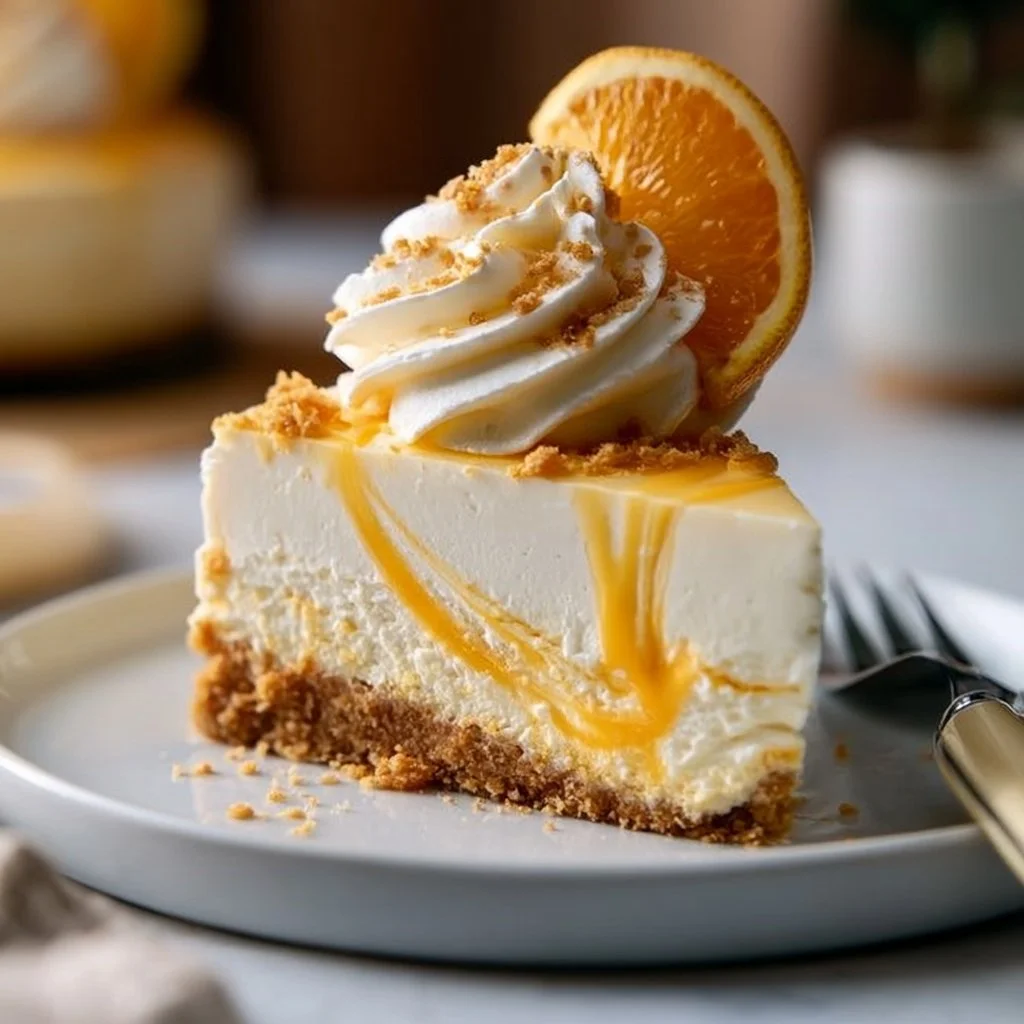
No-Bake Creamsicle Cheesecake
Tempted by a slice of sunshine?
Picture this: a creamy, dreamy dessert that tastes just like your favorite orange creamsicle, but without the oven or long prep time. Yes, please! This No-Bake Creamsicle Cheesecake is the ultimate sweet treat that combines refreshing orange flavor with a luscious cheesecake texture. Plus, it’s just so easy to whip up! Who can resist a dessert that practically makes itself?

Why make this recipe
Let’s be real—no one wants to spend hours in the kitchen, especially when you can indulge in a delightful dessert in a fraction of the time. Here are a few reasons to fall in love with this cheesecake:
- No-bake magic: Say goodbye to baking stress! This recipe saves you the hassle of preheating the oven.
- Quick and easy: With just a few simple steps, you’ll have a showstopper dessert ready to impress your friends and family.
- Perfect for all occasions: Whether it’s a summer barbecue or a cozy holiday gathering, this cheesecake is always a hit!
Ingredients:
You don’t need fancy stuff — just these basics!
- 1 ½ cups graham cracker crumbs
- ½ cup unsalted butter, melted
- 1 cup cream cheese, softened
- 1 cup powdered sugar
- 1 cup heavy cream
- ½ cup orange juice
- 1 tablespoon orange zest
- 1 teaspoon vanilla extract
Directions:
Ready to dive into this easy recipe? Follow these simple steps:
- In a mixing bowl, combine graham cracker crumbs and melted butter. Press mixture into the bottom of a 9-inch springform pan to form a crust.
- In another bowl, beat together the cream cheese and powdered sugar until smooth.
- Add in the orange juice, orange zest, and vanilla extract, mixing until well combined.
- In a separate bowl, whip the heavy cream until stiff peaks form, then gently fold it into the cream cheese mixture.
- Pour the filling over the graham cracker crust and smooth the top.
- Cover and refrigerate for at least 4 hours or until set.
- Slice and serve chilled.

How to make No-Bake Creamsicle Cheesecake (Overview)
You won’t believe how straightforward this process is! Start by mixing those graham cracker crumbs and butter until you create a delightful crust. Then, whip together the creamy goodness of cream cheese and sugar before adding in that zesty orange flavor. The key here is to whip the cream until it forms stiff peaks—don’t skip this step because it gives your cheesecake that airy texture. Finally, let it set in the fridge and get ready to dig in!
How to serve No-Bake Creamsicle Cheesecake
When it comes to serving this cheesecake, let your creativity flow! A light drizzle of extra orange juice or a sprinkle of orange zest on top adds a lovely pop of color. You could even pair each slice with a side of fresh berries for some added crunch and a burst of flavor. Just imagine the sweet aroma wafting through your kitchen—pure bliss!
How to store No-Bake Creamsicle Cheesecake
Wondering how long this delightful dessert will last? You can keep your cheesecake in the refrigerator for up to 5 days—just be sure to cover it tightly. If you want to freeze it, keep in mind that it’ll hold up for about 2 months! When you’re ready to serve again, just let it thaw in the fridge overnight. Easy-peasy!
Tips to make No-Bake Creamsicle Cheesecake
- Room temperature cream cheese: Make sure your cream cheese is softened to avoid lumps in your filling.
- Customize your zesty flavor: Swap half of the orange juice for lemon juice for a tangier twist.
- Elevate with toppings: Add some whipped cream or a splash of caramel on top for extra indulgence!
Variation
Feeling adventurous? You can easily change up the flavor profile! Switch out the orange juice for pineapple, for a tropical twist. Or, if you have dietary restrictions, make it vegan by using plant-based cream cheese and whipped cream alternatives.
FAQs
Can I make this cheesecake ahead of time?
Absolutely! This cheesecake is perfect for making ahead. Just ensure it sets in the fridge for at least 4 hours before serving.
Can I use a different crust?
Yes! You can use Oreo crumbs, vanilla wafer crumbs, or even almond flour for a low-carb option.
How can I fix a runny cheesecake?
If your cheesecake is too runny, make sure you’re whipping the cream until stiff peaks form. Also, chilling it longer can help with achieving that perfect consistency!
📌 Pin this recipe for your next cozy dinner night!
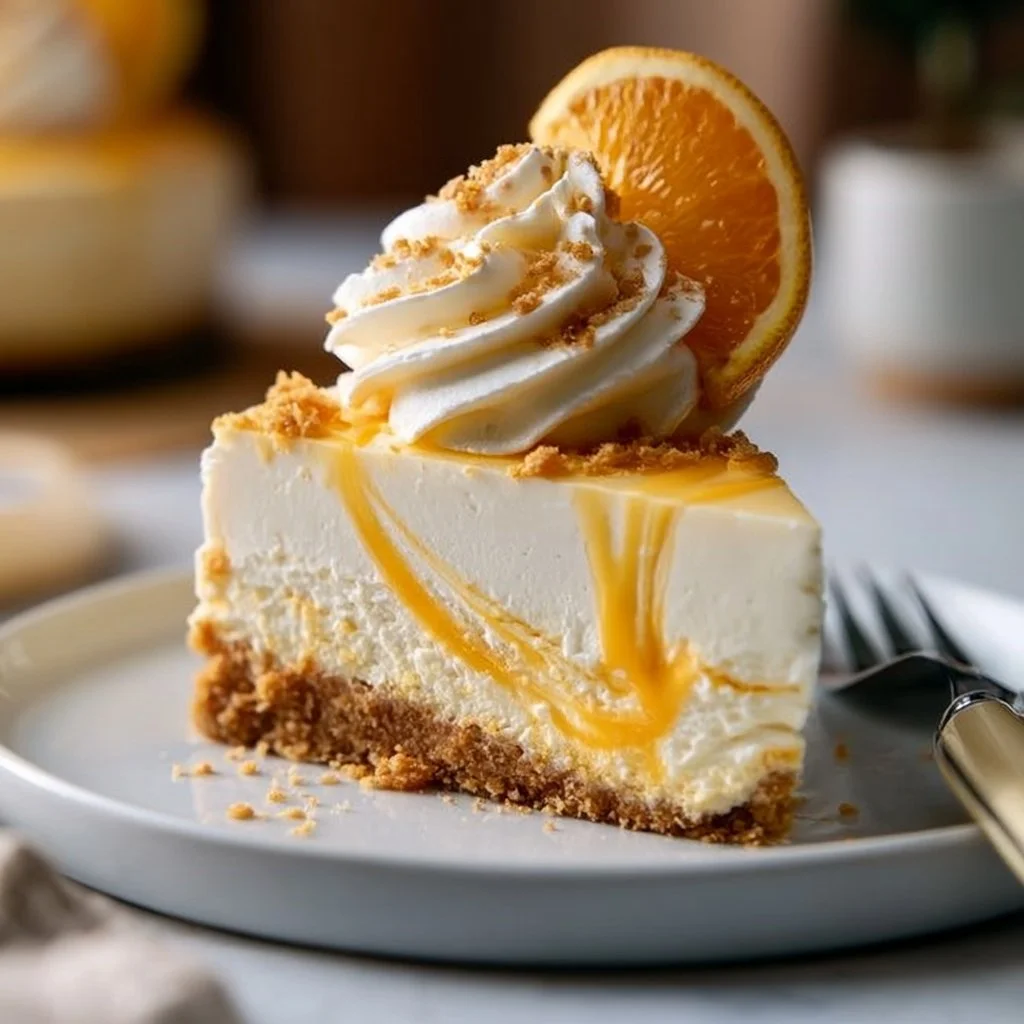
No-Bake Creamsicle Cheesecake
Ingredients
Method
- In a mixing bowl, combine graham cracker crumbs and melted butter. Press mixture into the bottom of a 9-inch springform pan to form a crust.
- In another bowl, beat together the cream cheese and powdered sugar until smooth.
- Add in the orange juice, orange zest, and vanilla extract, mixing until well combined.
- In a separate bowl, whip the heavy cream until stiff peaks form, then gently fold it into the cream cheese mixture.
- Pour the filling over the graham cracker crust and smooth the top.
- Cover and refrigerate for at least 4 hours or until set.
- Slice and serve chilled.